Adding New Web Applications
Using PowerShell to create new web applications with the IIS PowerShell Snap-In is incredibly easy. Just use New-WebApplication and specify
- Site : Site to put it under
- Physical Path : The directory path to the folder where the application will reside
- Application Pool : The application pool running the web application
- Name : The name of the application (what appears in the URL)
New-WebApplication -Site "Default Web Site" `
-PhysicalPath "C:\webApplications\" `
-ApplicationPool "DefaultAppPool" `
-Name "NewWebApplication"
The physical path, application pool and site must be in place before running the cmdlet. It won’t create them automatically and will fail the install if they aren’t present. Conveniently, there are cmdlets to handle creating these as well:
Creating a new directory:
new-item "C:\webApplications" -ItemType directory
#or
mkdir C:\webApplications
Creating an application pool:
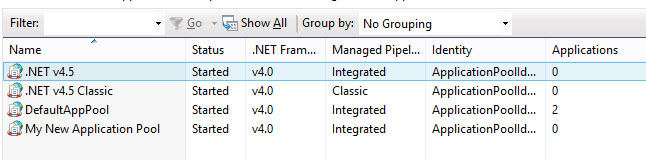
New-WebAppPool -Name "My New Application Pool"

Creating a new site:
New-Website -Name "My Web Site" `
-id 22 `
-Port 8080 `
-HostHeader "kmmiller8" `
-PhysicalPath C:\temp


PowerShell doesn’t let you customize much during the default install (Restart schedules, application pool user, etc.), but it is easy to modify them after creation. Use the Set-ItemProperty (Alternatively, you can use Get-ItemProperty to look at the configuration values in IIS).
Set-ItemProperty "IIS:\AppPools\ApplicationPoolName" -Name Recycling.periodicRestart.schedule -Value @{value="00:00"}
Unless you specify the Force parameter, old web applications won’t be overwritten by new ones. In order to test them before making the update specify the conditional using Test-Path:
if(-not (Test-Path "IIS:\Sites\Default Web Site\NewWebApplication")){
.....#place web application update here.
}
Removing a web application is just as easy as creating one too. Just provide the name of the web application and the site it runs under:
Remove-WebApplication "NewWebApplication" -Site "Default Web Site"